Table of Contents
Users, connections, and active sessions can be administered from within the web interface if the underlying authentication module supports this. The only officially-supported authentication modules supporting this are the MySQL and PostgreSQL extensions, which are documented in Chapter 4, Database authentication.
If you are using the default authentication mechanism, or another authentication extension, this chapter probably does not apply to you, and the management options will not be visible in the Guacamole interface. If, on the other hand, you are using one of the database authentication providers, and you are logged in as a user with sufficient privileges, you will see management options within the user menu.
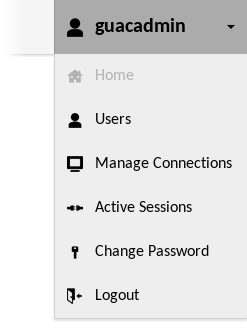
Management options within the Guacamole user menu.
Clicking any of these options will take you to a corresponding screen where you can perform administrative tasks.
Clicking "Users" within the user menu will take you to the user management screen. Here you can add new users or edit the properties and privileges of existing users.
To add a new user, type the username of the new user within the text box inside the user management screen, and click the "New User" button. The new user will be added and made available. The new user will have no access to any existing connections, nor any administrative privileges, and you will need to manually set the user's password before they will be able to log in.
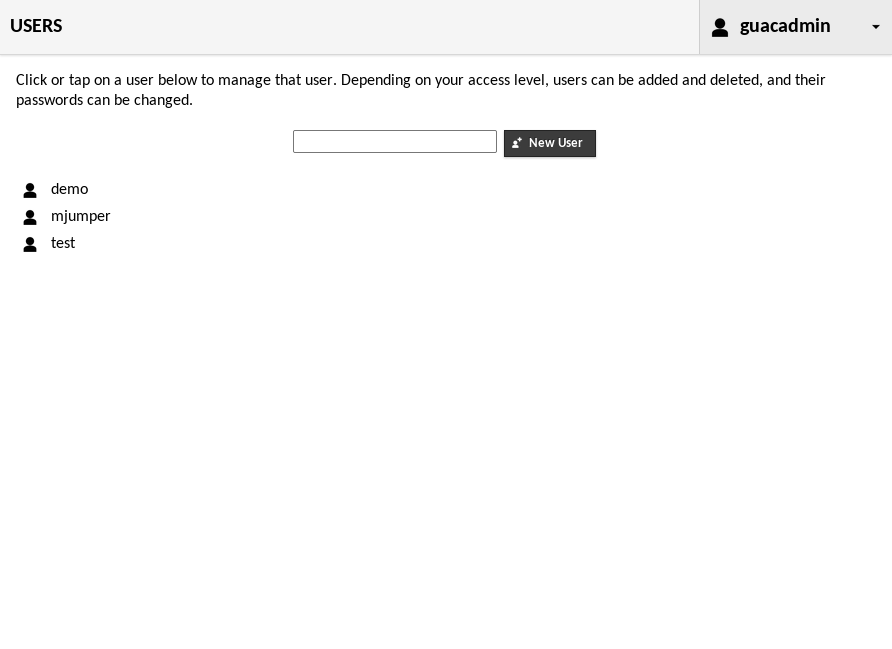
User management interface
To edit a user, just click on the user you wish to edit. You will be taken to a screen which allows you to change the user's password, add or remove administrative permissions, and add or remove read access to specific connections or groups.
If you have delete permission on the user, you will also see a "Delete" button. Clicking this button will permanently delete the user.

Editing a user
Clicking "Manage Connections" within the user menu will take you to the connection management screen. The connection management screen allows administrators to create and edit connections and connection groups.
To add a new connection or group, click the "New Connection" or "New Group" button. This will take you to a screen where you will be allowed to enter the details of the new object, such as its location, parameters, and name. This name should be descriptive, but must also be unique with respect to other connections or groups in the same location.
Once you click "Save", the new object will be added, but will initially only be usable by administrators and your current user. To grant another user access to the new connection or group, you must edit that user, checking the box corresponding to the connection or group you created.
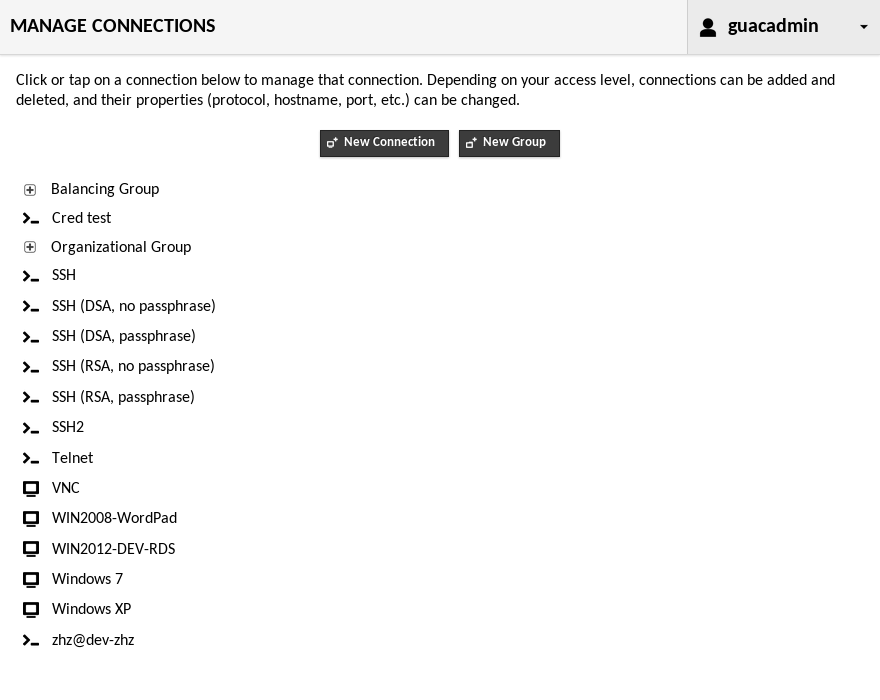
Connection management interface
Editing connections and groups works identically to editing a user. Click on the object you wish to edit, and you will be taken to screen which allows you to edit it. The screen will display all properties of the object, including its usage history, if applicable.
If you have delete permission on the object, you will also see a "Delete" button. Clicking this button will permanently delete the object being edited.
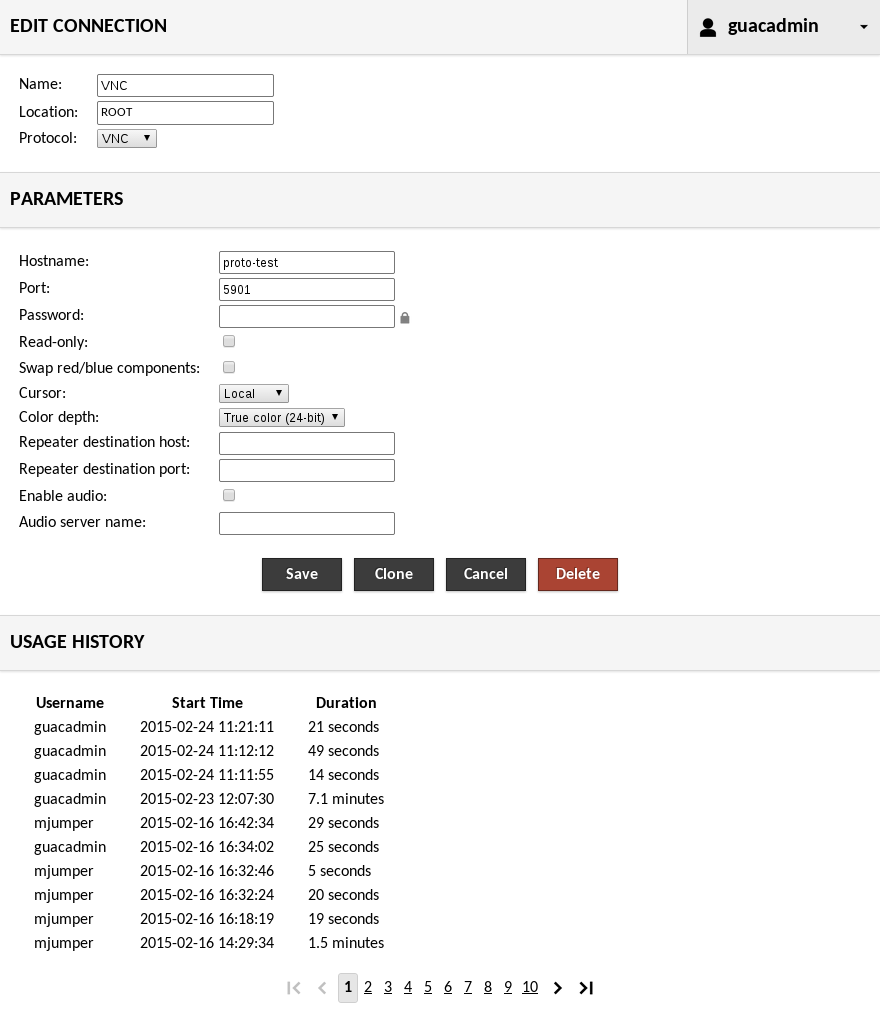
Editing a connection
Connection groups can be either "organizational" or "balancing". Each group can contain any number of other connections or groups, but the semantics of the group change depending on the type.
An organizational group behaves exactly as a folder or directory in a file system. It simply contains connections and other groups, but provides no other behavior. Clicking on an organizational group within a connection list will expand the group, revealing its contents.
A balancing group behaves as a connection. It dynamically balances load across the connections it contains, choosing the connection with the fewest number of active users. Unlike organizational groups, clicking on a balancing group causes a new connection to be opened. The actual underlying connection used depends on which connection has the least load at the time the group was clicked.
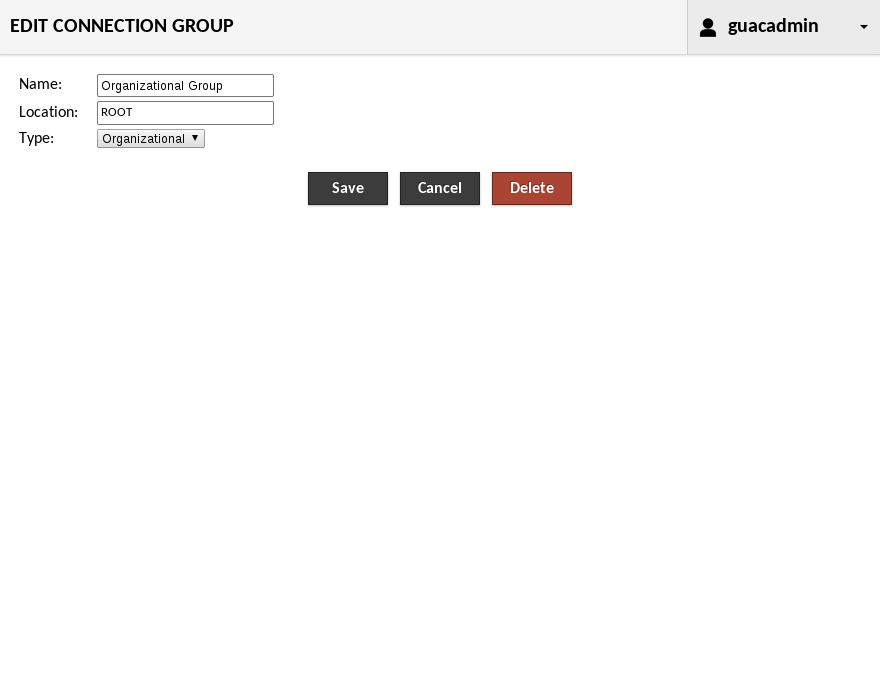
Editing a connection group
Clicking "Active Sessions" navigates to the session management screen. The session management screen displays all active sessions and allows system administrators to kill them as needed.
When any user accesses a particular remote desktop connection, a unique session is created and will appear in the list of active sessions in the session management screen. Each active session is displayed in a sortable table, showing the corresponding user's username, how long the session has been active, the IP address of the machine from which the user is connecting, and the name of the connection being used.
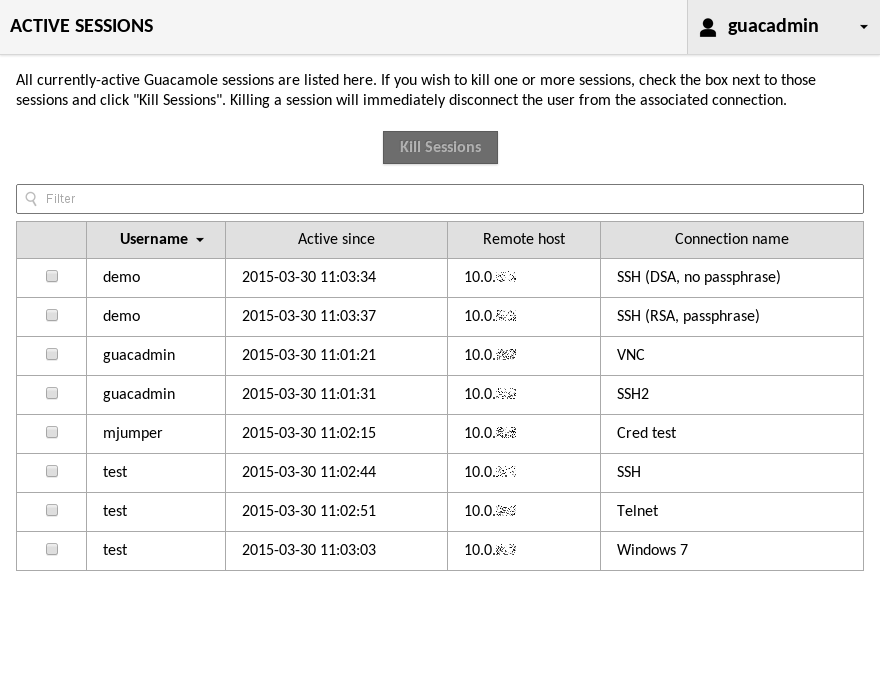
Session management interface
To kill one or more sessions, select the sessions by clicking their checkboxes. Once all desired sessions have been selected, clicking "Kill Sessions" will immediately disconnect those users from the associated connection.
The table can be resorted by clicking on the column headers. Clicking any column will resort the table by the values within that column, while clicking a column which is already sorted will toggle between ascending and descending order.
The content of the table can be limited through search terms specified in the "Filter" field. Entering search terms will limit the table to only sessions containing those terms. For example, to list only connections by the user "guacadmin" which have been active since March, 2015, you would enter: "guacadmin 2015-03". Beware that if a search term needs to contain spaces, it must be enclosed in double quotes to avoid being interpreted as multiple terms.

If you wish to narrow the content of the table to only those connections which originate from a particular block of IP addresses, you can do this by specifying the block in standard CIDR notation, such "10.0.0.0/8" or "2001:db8:1234::/48". This will work with both IPv4 and IPv6 addresses.
